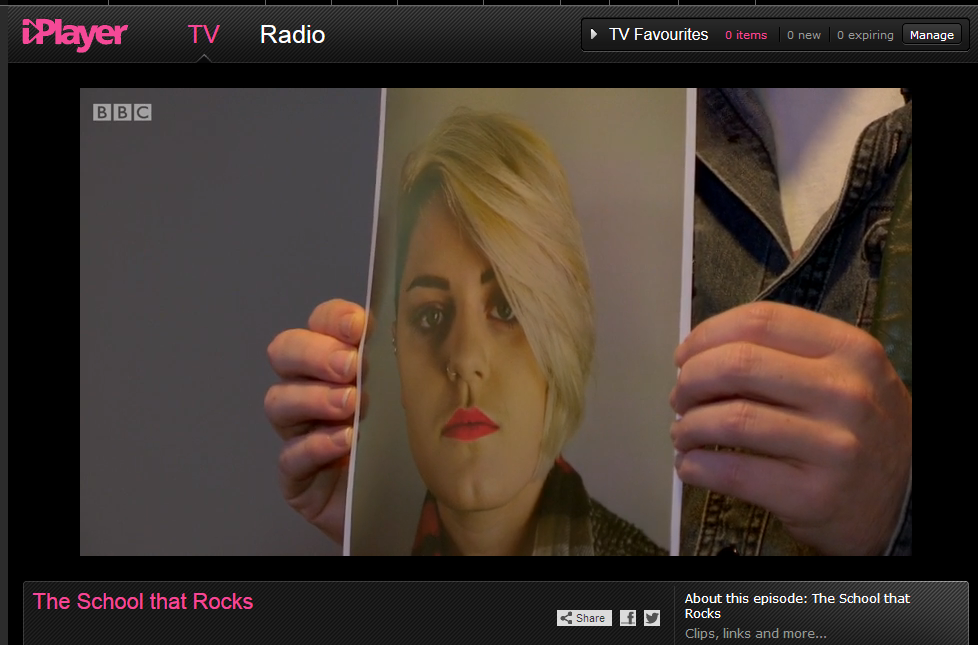
I was watching BBC Three ‘The School that rocks‘. Why you may ask.. well as some people know I am starting a social network www.1wish.net for aspiring and talented people so I thought I ‘d do some research while spanning time with a friend last night.
Without going into too much details this program follows the lives of a few select teenagers who are seeking fame and fortune and have enrolled into a college for performing art etc and this bring me to my point.. there was a photoshoot for the said pupils and I thought ‘HANG ON’ this so called photographer has got it all wrong in my view!!?? He was shooting literally about a foot away from the subject which led me to think these pupils faces will look disproportionate. Low and behold when unveiling his masterpiece the main complaint was “my face looks fat” haha
So there you have it classic mistake… wrong lenses and wrong technique. Kevin Rockwell explains this best
Here are some other pointers to get you going…
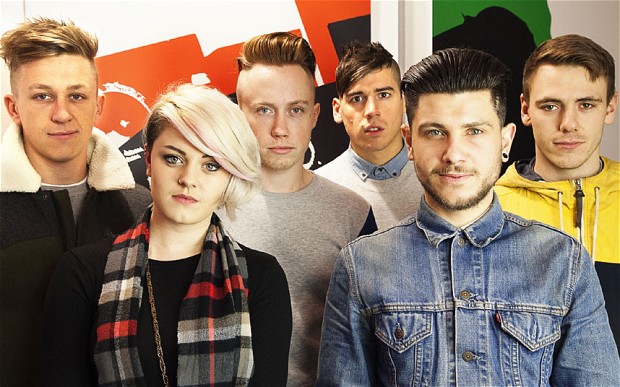
Headshots:
This is essential portfolio piece or otherwise for many professionals whilst first impressions because it is YOU. A perfect headshot for models, actors, musicians etc will be the difference between success and failure. Get this wrong and this could mean a bad reputation for you.
Here are a few tips I picked up, so follow this as well as what I mentioned above and you will steer clear of people blogging about you AND YOUR SHODDY WORK!!
1. Focus on the eyes.
Nothing is more important than achieving super sharp, vibrant eyes in your shot. This is the most powerful and effective way to draw the viewer into the photo. If a picture can paint a thousand words then at least half of that is attributed to the window of your soul.
2. Watch your angles.
Close up shots reveal practically everything including the look and feel. For women, it is a good idea to make the eyes appear larger and the face more delicate by shooting down. For men, emphasise strength and achievement by shooting slightly up. So the saying goes but that is a subjective view these days.
3. Use of a diffused light.
Close up shots will inevitably reveal the texture of the skin. Not necessarily a great thing if you are aging so try to reduce the number of visible blemishes using a diffused light to gently wrap around the skin, encapsulating definition along the lines of the face and without highlighting their blemishes and imperfections.
4. Add a hair light
Detail is critical in head-shots and are no more dynamic than when created with a hair-light. A hair-light can be placed above or behind the subject [with a flash or the sun] to add depth to the shot, and pull the top of the head out of the background.
5. Use of Lens (original point of this article)
Nothing annoys me more than a near-dynamic headshot that fails simply because of lens distortion/fish eye effect. Please avoid mid to wide angle lenses for close headshots. You will need good light and a quality lense of course and compressing your image you will slim your subjects face.. and you wont here “My face looks fat”.
6. Guide expression & feeling
Very important and this at least was done right! It’s your job as photographer to pull out the most natural looks from your subjects if that is what is intended. This is where a personable technique is advised, guiding them through complimenting conversation; i.e. asking serious questions to pull out a thoughtful gaze, or telling a joke to capture a natural smile, gouding them into a moody grimace… whatever it takes.
Anyway if you would like to watch the program its